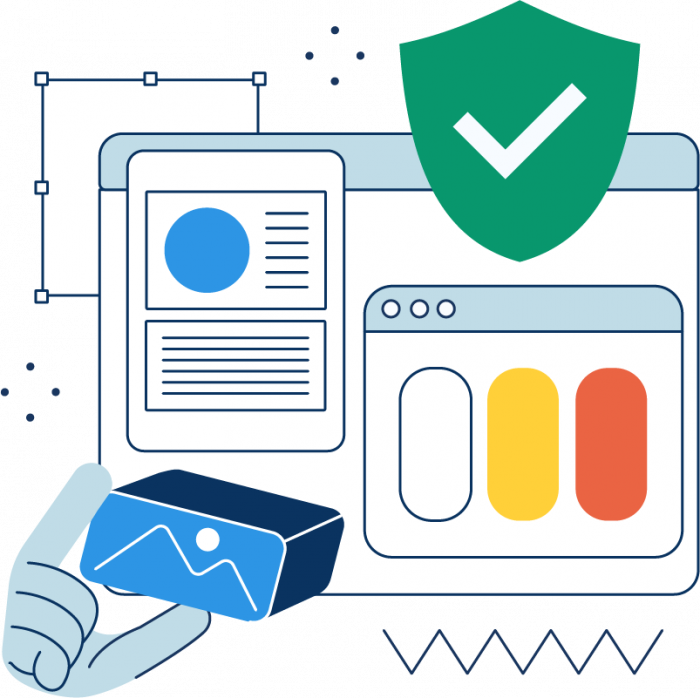
Getting Started with Your Business Website
This guide will show you everything you need to get started using your business website right away. We know business owners are busy folks, so we designed this to be as straightforward as possible.
We’ll cover a few different topics introducing WordPress and its major features. Future guides will cover more specific topics, but for now, let’s jump in and examine what you need to know to get started with your website.
Getting Your Website Up and Running
Getting your website up and running happens automatically once you’ve purchased it as an add-on to our domain registration, business formation, or registered agent products. To access your site from your client account, just head to your Websites & Email tab. Select the “Site Builder” button to view the details you need to log in, then select the “Log In” button to open your WordPress site login.
We’ve set you up with a few default pages to get you started, including a cover page that displays basic information about your site. Everything you see can be customized as much or as little as you like. Once you’ve taken a tour of the basic features we describe in this guide, we hope you’ll have the confidence to start experimenting.
☆
Why WordPress?
We chose to use WordPress for our clients’ content management systems for a couple of reasons. To begin with, plenty of companies and agencies have built their sites in WordPress, including NASA. We know it has the ease-of-use and flexibility our clients need to take their business identity to the next level.
We also believe in reducing barriers to successful business ownership—part of that is making sure that you own your site and its contents. WordPress is open source software that gives you easy tools to tinker with, modify, and export your site. While we’d hate to see you go, we’d like it even less if you felt like you couldn’t without starting over from scratch.
Navigating Your Dashboard
Your WordPress Dashboard is home to all the tools you’ll need to manage your website, and navigating it is a breeze. The collapsible menu on your left can change based on which plugins, themes, or other add-ons you install, but these basic functions are always present:
☆
Dashboard
You’re already here! The boxes of text you can see on your page are widgets, which will change as you begin experimenting with themes and plugins. Updates shows you which updates are available for your installed themes, plugins, or even WordPress itself.
☆
Posts
Posts are typically shorter-form, dynamic content you can organize into Categories. You can also add Tags to help readers see what to expect at a glance.
☆
Media
Your Media Library is home to all the images, videos, and documents you’ll use throughout your website. You can add new items and manage your library from here.
☆
Pages
Longer-form, static pages form the foundation of your website. We’ve added a few default pages to get you started—remember to edit and publish them!
☆
Comments
If you’ve enabled comments on your posts or pages, you can view and manage all of them from here.
☆
Appearance
Give your website a makeover with a new theme, or edit the foundational elements of the one you’re currently using.
☆
Plugins
Before there was an app for that, custom plugins existed to plug extra functionality into sites built with WordPress. Manage your existing plugins here. Note that when you install a new plugin, look for a matching menu item to view settings specific to that plugin.
☆
Users
As your business grows, you may want to give other people permission to add or edit content on your site. This tool lets you manage those users and the extent of their power to make changes to your site.
☆
Tools
Major site tools, like the ability to import or export it, live here.
☆
Settings
General site settings, including your site’s name and tagline, are found here, along with settings specific to writing, reading, privacy, and more.
A Closer Look at Settings
Settings > General controls important information about your website, and you’ll want to spend some time here making changes to these specific pieces to better suit your business:
- Site Title
This is the name of your website. This appears anywhere your website’s site title is used, including the default pages we’ve set up for you, as well as in search engine results. Change it to the name you want your website to be known by—your brand name, your business name, etc. - Tagline
Your tagline appears less frequently around your website, but it’s still a good idea to set a basic description, motto, or catchphrase here. - Administration Email Address
WordPress sends emails to this address when there are action items waiting for you, such as new comments to moderate, updates to perform, or other information. By default this is set to [email protected]. If you’ve purchased our email address service, confirm that you can receive these emails; if not, change this to an email address you can verify. - Timezone
The default timezone setting is UTC+0. You can leave it as-is, or update it to your own timezone.
These four settings are the most important for you to update when you’re setting up your website. Additional settings like your date and time format, start-of-week, and site language can also be adjusted here. (We recommend against adjusting your WordPress Address (URL) or Site Address (URL) unless you’re very experienced with website administration.)
Remember to scroll down and select the “Save” button to save your changes!
Understanding Your Admin Bar
When you’re logged into your website as an administrator, you’ll notice a new bar near the top of your screen with a fancy little WordPress logo and your site title on it. This is your admin bar, and it contains a few shortcuts and tools to make managing your website just that much easier.

The WordPress icon features a menu of options related to WordPress itself, including links to supporting documentation and learning modules that provide in-depth information about using its service.
Selecting your site name can take you back to your Dashboard, or directly to your plugin manager, your themes, your widgets, or your menus.
Selecting the “Edit site” button will open your site editor, a powerful tool you can use to redesign your site’s entire appearance by editing the template for the page you’re on. Changes to the template affect every other page built using this template.

The recirculating icon with a number next to it indicates how many updates are available for the plugins and themes you have installed. Select this to open your Updates tab in your Dashboard.

The speech bubble icon with a number beside it shows you the number of new comments you’ve received. Select it to open the Comments tab in your Dashboard.

The “+ New” button is a handy shortcut to add a new post, page, media, or user.
Finally, the “Edit Page” button opens the block editor for that page. If you’re on a post, the button will say “Edit Post” instead.
Your admin bar options and functionality may change when you install or update new plugins or themes, or when you update WordPress itself. If you see something different up there, check the help text for any new installations.